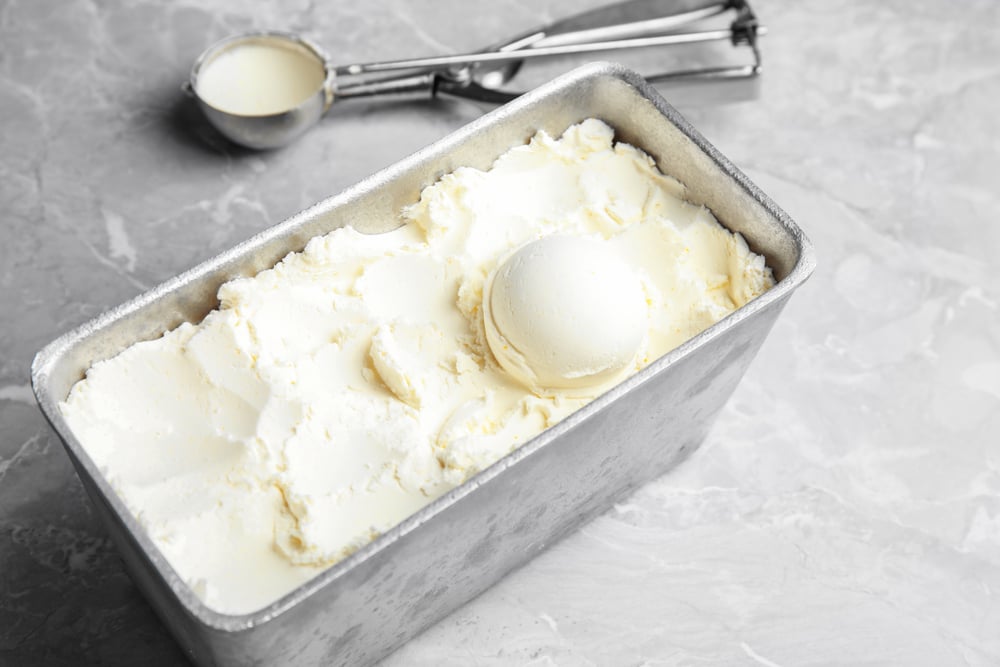
IT’S SUPER EASY TO MAKE VANILLA ICE CREAM IN YOUR NINJA CREAMI, AND THIS SUPER EASY NINJA CREAMI RECIPE SHOWS YOU EXACTLY HOW TO DO IT.
Have you jumped on the Ninja Creami train? We bought ours on a Black Friday, and we love it because it’s incredibly simple to use. Most importantly, the Ninja Creami machine makes delicious vanilla and chocolate ice cream. All you have to do is mix up your ice cream, gelato, lite ice cream, or sorbet, and 24 hours later, you can enjoy a cool and refreshing creamy homemade ice cream treat.
We aren’t new to making homemade vanilla ice cream or chocolate ice cream. In fact, many of us first experienced homemade ice cream with a hand-churned ice cream maker in our grandparent’s yards in the summertime.
Later, a lot of people began to experiment with various electric ice cream makers, and that was fun, too.
The Ninja Creami is a game changer because it uses a completely different method for making creamy and delicious frozen dessert, including chocolate milkshakes, vanilla or chocolate gelato, custard, boozy slushies, smoothie bowl, fruit sorbet, light ice cream, and more.

We’ve made so many different delicious flavors in our Ninja Creami, and we all love ice cream confectionals in chocolate, strawberry ice cream, and more. We even have a Ninja Creami cookbook with tons of recipe ideas. You can also find so many yummy Ninja ice cream maker recipes online. But in this article, we’re going to learn how to use this unique ice cream machine to make a classic ice cream flavor: Ninja Creami vanilla ice cream.
All About Making Ninja Creami Ice Cream
Most homemade ice cream is made with sugar, milk, and eggs (egg yolk). This mixture is cooked on the stovetop at medium heat. The base is allowed to cool, then you churn it in an ice cream maker (or ice cream freezer).
To make ice cream without eggs, you can make homemade ice cream with sweetened condensed milk and whipped cream. This is typically no churn ice cream.

Here are some tips for making homemade ice cream in the Ninja Creami.
- As a substitute for cream cheese, you can use a tablespoon of instant pudding or xanthan gum. This will help the vanilla ice cream thicken.
- You can easily adapt this homemade ice cream recipe to make strawberry ice cream, chocolate ice cream (using cocoa powder), and other flavors.
- If you want to add something like chocolate chips to your homemade ice cream, you can use the “Mix-In” function after you creamify your ice cream. For example, you could make peach ice cream, chocolate chip ice cream, peanut butter ice cream with brown sugar or maple syrup, coffee ice cream, cinnamon ice cream, blueberry ice cream, rocky road ice cream, custard ice cream, and more. This function should be used last.
- One tasty way to get some wonderful flavor is to use sweetened condensed milk ice cream recipes for Ninja Creami. This can be a substitute for cream cheese and sugar.
Making Vanilla Ice Cream in the Ninja Creami
You will be astonished at how easy it is to make this homemade vanilla ice cream.
Ninja Creami Vanilla Ice Cream Ingredients:
The basic ingredients that you need to make homemade vanilla ice cream are these:
- White granulated sugar
- Full-fat cream cheese
- Whole milk
- Pure vanilla extract (or vanilla bean paste)
- Heavy cream
How to Make Vanilla Ice Cream in the Ninja Creami:
Follow these steps to make your homemade ice cream.

Mix together the sugar, cream cheese, and pure vanilla extract. The first thing you need to do is warm up the cream cheese in your microwave. You only need to do it for 10 seconds or until it’s soft and creamy. Mix the softened cream cheese with the vanilla extract and the sugar.
Add the whole milk and heavy cream to the cream cheese mixture. Gradually stir the liquids into the sugar and cream cheese mixture. You can add a couple of tablespoons at once, then mix that well to get rid of the lumps.
Then, slowly add more until all of the liquid is gone, and the mixture is creamy. Once you have your creamy mixture, pour it into your Ninja Creami pint and put the plastic lid on top.
Freeze the pint. Place your Ninja Creami pint on a flat shelf in your freezer. It needs to be very level because if your mixture freezes at a slant, it can damage the Ninja Creami machine.
Creamify your pint in your Ninja Creami. After a full 24 hours (not less), remove the Ninja Creami pint from your freezer and place it into the machine’s outer bowl. Make sure the lid is locked and the bowl is in place.
Select ice cream (the “Ice Cream” function) and let the machine do its work! For softer ice cream, do a re-spin.

Adaptations and Notes
- In some cases, homemade ice cream in the Ninja Creami becomes crumbly after only one spin in the machine. You may see ice crystals in your ice cream. After your first spin, remove the lid and check the texture. If your ice cream is crumbly instead of creamy, you can set the machine to “Re-Spin.”
- You can make dairy-free or vegan ice cream by making substitutions. For example, instead of whole milk, you can use non-dairy milk such as almond milk, coconut milk, or oat milk. Instead of adding heavy cream to your homemade ice cream, you can use vegan cream cheese or unsweetened coconut cream.
- To use the ice cream function on the Ninja Creami, you must have some fat, such as cream cheese and heavy cream. If you’re making a non-fat creamy dessert, use the “Lite Ice Cream” or “Sorbet” function on the Ninja Creami.
- To use a protein shake or protein powder to make protein ice cream for a keto diet, use the “Lite Ice Cream” function. There isn’t enough fat in protein shakes for the regular ice cream function, and it will damage the machine.
Equipment Needed
Here is the basic equipment you need to make homemade ice cream in your Ninja Creami.
- Ninja Creami machine (from the Ninja Kitchen line of products, the makers of the Ninja Foodi and Ninja Air Fryer)
- Ninja Creami pint container
- Mixing bowl
- Silicone spatula

Ninja Creami Vanilla Ice Cream Recipe
Ingredients
- 1/2 ounces full-fat cream cheese 1 Tablespoon
- 1 1/2 teaspoons pure vanilla extract
- 1/3 cup white granulated sugar
- 3/4 cup heavy whipping cream
- 1 cup milk whole milk is preferable
Instructions
- Add the cream cheese to a bowl that's safe for use in the microwave. Microwave the cream cheese on low for 10 seconds.
- Add the pure vanilla extract and granulated sugar to the cream cheese. Use a wooden spoon or silicone spatula to mix the sugar and vanilla extract into the cream cheese.
- Use a separate measuring cup to combine the heavy whipping cream and whole milk. Slowly add the milk and heavy cream mixture to the cream cheese and sugar mixture. Start with a couple of tablespoons at a time. Mix thoroughly to combine well. Continue stirring and adding the milk mixture until it is all added. Stir until the sugar has completely dissolved.
- Use the silicone spatula to transfer the homemade vanilla ice cream base into the Ninja Creami pint. Put the lid on the pint and freeze the pint in the freezer for 24 hours. Be sure the pint is on a level surface.
- After one full day, remove the pint from the freezer. Remove the plastic lid and add the Ninja Creami pint to the bowl of the Ninja Creami machine. Secure the lid well.
- Insert the bowl into the Ninja Creami and lock the lid into place.
- Use the ice cream function to process your frozen treat.
- Remove the lid and check the texture. If you want it creamier, use the "Re-Spin" function.
Notes
If you want a dairy-free treat, you can use a milk substitute such as unsweetened oat milk or almond milk instead of whole milk. To replace the heavy cream, you can use unsweetened coconut cream. Instead of full-fat dairy cream cheese, feel free to use vegan cream cheese.
Nutrition
Watch this video to learn how to use your Ninja Creami to make homemade vanilla bean ice cream.


